Showing posts with label The Greeting Farm. Show all posts

Copic Coloring Hair

Saturday, March 23, 2019

It has been over two years since I picked up my copic markers.  In fact, I was nervous they may be dried out!  Over the weekend, I was under the weather and had a hard time just laying in bed.  I wanted to do something mindless and crafty and decided I should practice coloring.


It was very late at night, but I set my desk up with all of the necessary tools.  I watched a few youtube copic coloring tutorials to help me remember the tips and tricks.  I used a few different color combinations and only focused on hair.  Here is what I came up with.


I tried to practice with different hair styles so I would get a better sense of where to put the highlights.


Doing this activity really inspired me and made me consider pulling out my other mediums, such as prismacolor pencils and practicing with them.  I hope you give some coloring a try.  Happy Scrapping!


SSS Wednesday Challenge Entry

Saturday, November 23, 2013

Hi Everyone,

I decided to enter another card into the SSS Wednesday challenge.  I've been wanting to use my Authentique celebrate bundle since it is one of my favorite paper pads.  This was the perfect time to do so, as they requested Authentique products be used.  I always seem to use this pad for masculine cards, so I challenged myself to use it with a girly stamp.

Here is the sketch we were to work off of.

 
I wanted to use this image of Anya, but instead of coloring it in, I wanted it to look like an image from a comic book and match the black and white background.
 
 
I used a little christmas stickles on the heart shaped cherry.  This time I added my sentiment to a banner and kept it real simple and clean.

 
I always finish off the inside of my cards.  I used a sentiment from the SSS called "On the Edge."  I love how you can curve any sentiment in a photopolymer set and that is what I did on the inside here.

 
Supplies Used:
 
TGF Birthday Anya II
Authentique Celebrate collection
Studio Calico wood veneer alphas
Thickers in Rockabye font
PTI cardstock in black
SSS stamp set: On the Edge
MFT dies: all star daily, oval chain border
Black memento ink
Memento lady bug ink
 
--Nicole

MB Treasurista Design Team Project

Sunday, January 15, 2012

Hi Everyone.  I just got the new Anya Garland stamps and there were calling my name.  What better products to use with these stamps than the gorgeous trims and laces from MB Treasurista!  I made to different Valentine themed cards and just love the way they came out.


I paper pieced Miss Anya and colored her skin and hair using my copic markers.


I made this flower using the ruffled satin organza trim from MB Treasurista.  It's very thick and good quality so it is the perfect material to make embellishments out of.


This is what the final product looks like.


MB Treasurista Products Used:
Ruffled satin ribbon in Burgundy
1" organza butterfly in black
4mm Black pearl trim
Burgundy rose scalloped lace
Ivory scalloped lace


The next card uses a more pastel palette.  I again show you another use for the ruffled trims.  Here you can see I used it around my image to create a stunning frame.


Here is a closer look...


I used one of the gorgeous poinsettia sprays.  they do not necessarily have to be used on only Christmas projects.


MB Treasurista products used:

1" organza butterfly in blue
White with pink scallop lace
Poinsettia spray
Ruffled satin on organza in pink

Here is the contact information if you are interested in purchasing Misty's awesome products!

Shop - http://www.zibbet.com/MBsTreasurista
Shop Youtube - http://www.youtube.com/user/MBsTreasuristaDT
Shop/My Blog -
http://mbtreasurista.blogspot.com/
MB's Treasurista Fan Page - http://www.facebook.com/pages/MBs-Treasurista/167767899982066?skip_nax_wizard=true

Valentine's Day Cards using the Greeting Farm

Monday, January 9, 2012

So, I've jumped right into some Valentine's day projects this year.  I think having a little girl who I am totally in love with has inspired me.  I made her the cutest Valentines Day gift that you can check out on my YT channel.  Here is the link to the project:

http://www.youtube.com/watch?v=X8r4dyXaNII

Today, I'm sharing two cards using the greeting farm stamp set called Miss Anya Hats.  You can pretty much turn any of the Miss Anya stamp sets into Valentine's day cards.  All you have to do is pick "love themed paper" and get paper piecing!

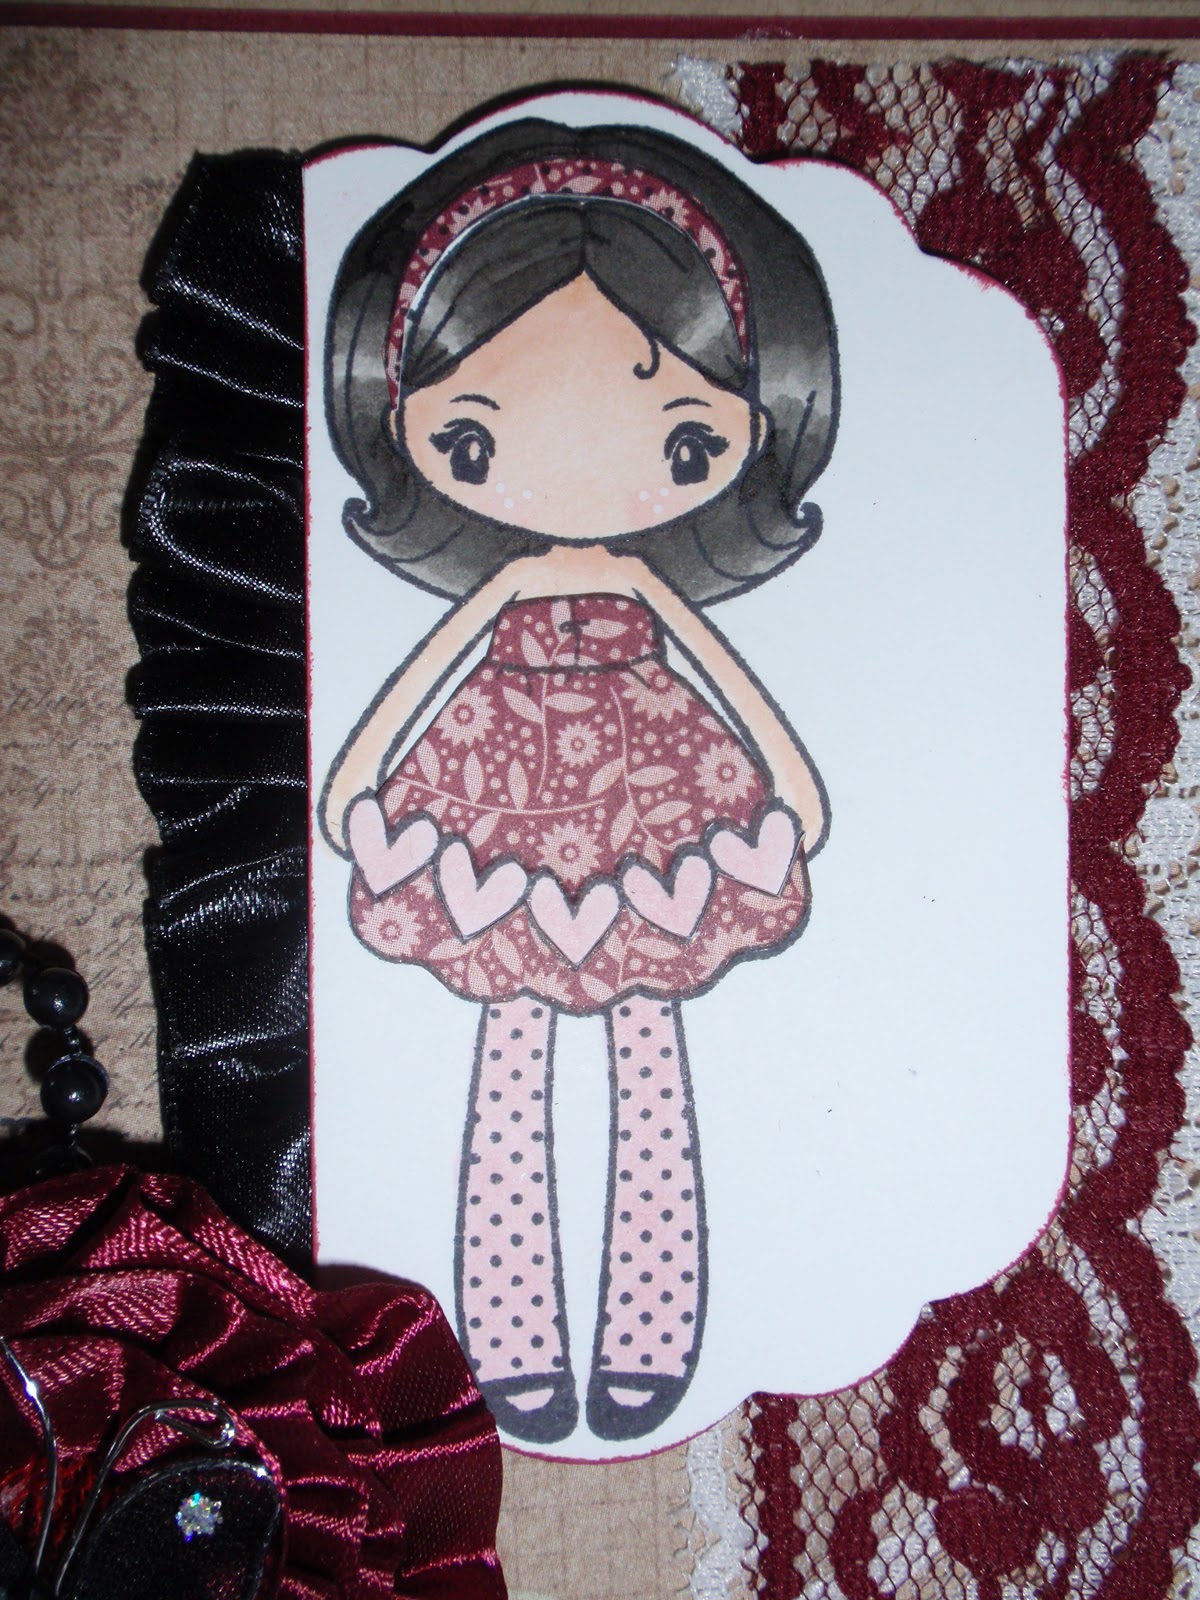
This first card used the Crate Paper paper hearts collection.  I just love how the layering came out and the color scheme.


I colored Anya's skin and hair and paper pieced the rest.


I kept the inside of the card simple, so there is room to write a message.


A little bling, prima flower, and some sewing to finish it off.


Products Used:

Copics for Hair: W3, W5, W7, W9
Copics for skin: E000, E00, E11, E21, R20
Crate Paper: Paper Heart 6x6 pad
Prima flowers and bling
MFT Dies: Wonky border and Bracket tab
Paper Trey Ink cardstock

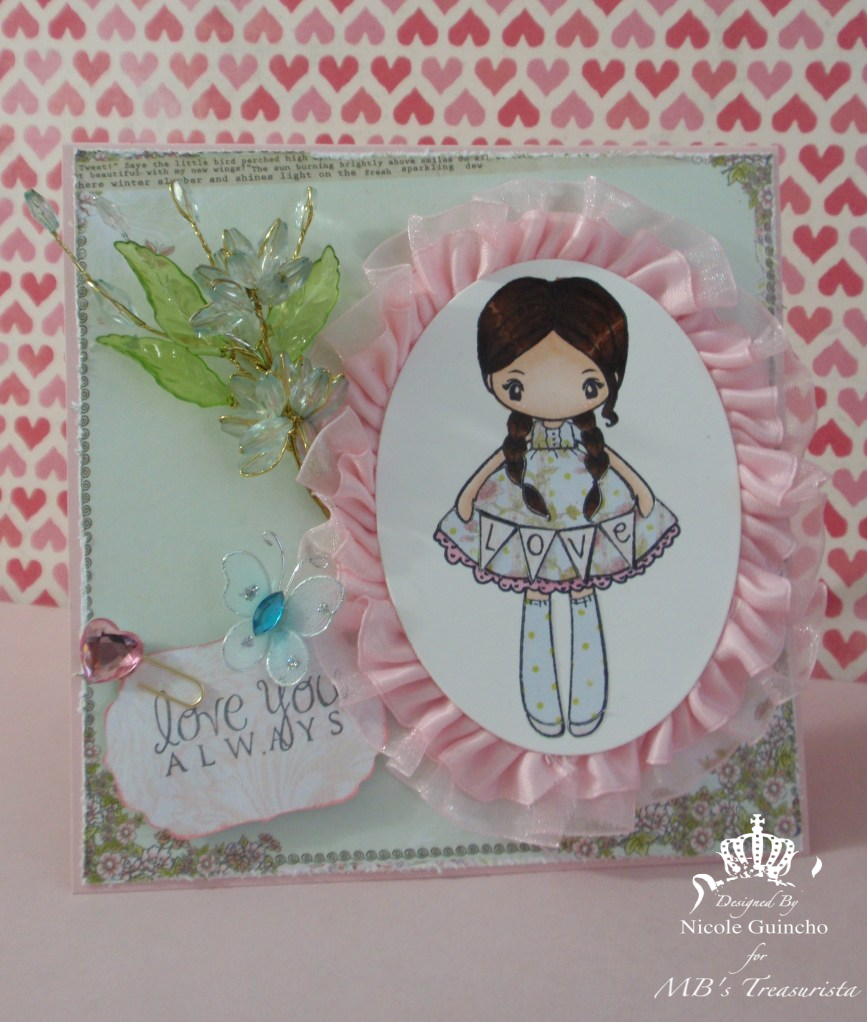
The next card is a standard size card and uses the same Anya collection.  I actually used a card sketch from My Favorite Things to design the layout.


Products Used:

My Mind's Eye: Be Loved collection
MFT Die: Oval Chain
Recollections flowers
Vintage Lace
Martha Stewart Around the page punch: Deco Fans
Fiskars border punch: Scallop
Nestabilities Die: Floral Doily Motifs
Copics Hair: E49,E55, E57, E59
Copics for skin: E000, E00, E11, E21, R20

Talk to you soon...


TGF-Namaste Sign

Sunday, February 20, 2011

Hi Everyone!  I know it's been a while since I posted a new project.  I've been busy this month because I jumped in head first into the world of swapping.  I joined not one, but TWO swaps this month.  That's a big commitment for a girl that's never swapped!!  Thankfully, I got it all done and it's ready to ship.  Check out my YT channel to see the finished products.

I've been having withdrawals from copic coloring so I made this sign for a friend of mine that just got her yoga certification.  She teaches classes and so I made her a sign for her door.  Here are two pics.  I'll try to post more often.  Later....


template design by Studio Mommy (© copyright 2015)